1 步骤说明
- 创建项目web >vue create web30_3
- 》创建过程中选项 选择 Manually select features
- 》创建过程中选项 选择Babel,Router, Vuex
- 》创建过程中选项 选择版本3.0
- 》创建过程中选项 选择In dedicated config files
- 》创建过程中选项 如果保存选择,则对 Save this as a preset for future project 选择yes
- cd web30_3
- npm run serve
- 安装插件 >npm i element-plus --save 注--save作用是项目拷贝时已经有包保存
- 修改src下main.js文件,见编程说明部分2.1
2 编程说明
2.1 main.js 修改说明
增加两行内容
import ElementPlus from 'element-plus'
import 'element-plus/lib/theme-chalk/index.css'
再用use引入。这点与vue2.0 编程一致。
import {createApp} from 'vue' import App from './App.vue' import router from './router' import store from './store' import ElementPlus from 'element-plus' import 'element-plus/lib/theme-chalk/index.css' createApp(App).use(store).use(router).use(ElementPlus).mount(rootContainer:'#app')2.2 设计login页面
设计表单,形成为独立Login页面,可以单独建立目录来存放,如后台 /back,则该文件为src/views/back/Login.vue
全部代码为:
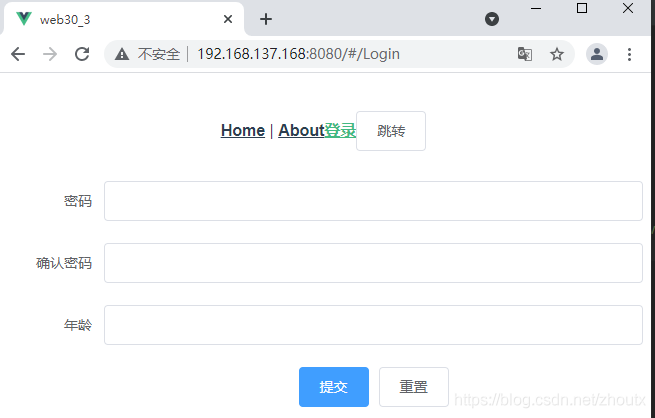
提交 重置 2.3 App.vue 嵌入login页面
登录 跳转 全文件如下:
2.4 修改路由文件
router/index.js 需要配置网页路由
, { path: '/Login', name: 'Login', // route level code-splitting // this generates a separate chunk (about.[hash].js) for this route // which is lazy-loaded when the route is visited. component: () => import(/* webpackChunkName: "about" */ '../views/back/Login.vue') } 形成为如下文件
import { createRouter, createWebHashHistory } from 'vue-router' import Home from '../views/Home.vue' const routes = [ { path: '/', name: 'Home', component: Home }, { path: '/about', name: 'About', // route level code-splitting // this generates a separate chunk (about.[hash].js) for this route // which is lazy-loaded when the route is visited. component: () => import(/* webpackChunkName: "about" */ '../views/About.vue') }, { path: '/Login', name: 'Login', component: ()=>import('../views/back/Login') } ] const router = createRouter({ history: createWebHashHistory(), routes }) export default router3 编译运行和测试
D:\workspace_vue\web30_3>npm run serve
> web30_3@0.1.0 serve D:\workspace_vue\web30_3
> vue-cli-service serve
INFO Starting development server...
98% after emitting CopyPlugin
DONE Compiled successfully in 7941ms
App running at:
- Local: http://localhost:8080/
- Network: http://192.168.137.168:8080/
Note that the development build is not optimized.
To create a production build, run npm run build.
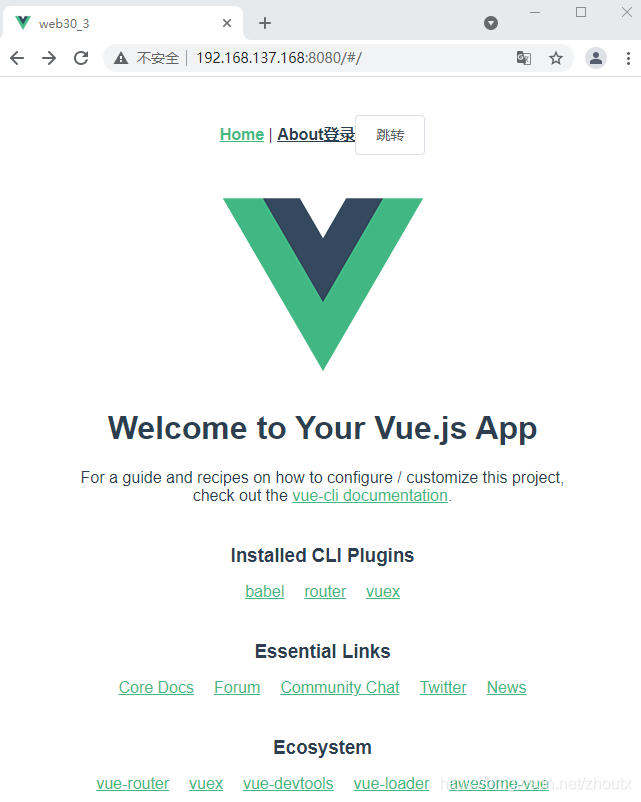
现在可以输入网址,http://192.168.137.168:8080/,在浏览器可以看到首页Home,再点击登录,可以进入登录页面。后面就是后台的对接工作了。
http://192.168.137.168:8080/
点击登录得到:
4 ElementPlus 官网获取插件素材
网址为https://element-plus.gitee.io/#/zh-CN